| Applying the cob | ||
|
|
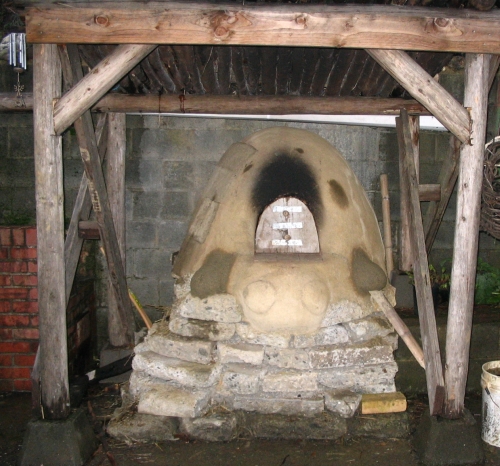
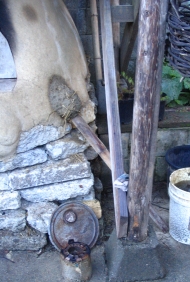
 A cob foot (the turtle's right foot) Preparation: One part of my project was to complete the Turtle Cob Oven. I gave the turtle feet, fixed cracking and will be painting the Turtle's Shell. Since the oven was completed earlier I needed to prepare it so that I could attach more cob. It is much easier to build a structure all at once but since that didn't happen the feet had to be attach the separately. To do this I drilled into the plaster and cob with a one inch drill bit as far as I could go. The hole ended up being about one and a half inches deep. The hole couldn't be any deeper because of the foundation. I cut two seven inch pieces of bamboo which would be snug inside the holes. I also scraped up the surface of the plaster with a screwdriver so that the cob could stick into the groves. Similar to the ceramic technique of scoring. Application: After the cob was mixed I applied it to the cob oven. Since the feet for the cob oven are small I used a little bit of a batch and the rest contributed to the construction of the cob bench. It took about three of four balls of cob to make a foot. I started by pushing the cob into the scratch marks on the turtle's shell. From there I built onto the poles by massaging the cob into the form which I wanted. Each layer of cob should be seamlessly worked in. If you need to return to a project poking holes into the cob helps so that your next layer can grab onto something. Also if you are applying a plaster hole are needed. The turtle's right foot (as shown above) was the easiest because the foundation for the cob oven extended out a little bit which created a platform for the cob to rest upon while drying. The left foot ended up being tricky because it depended on the bamboo much more. While applying cob to the left foot I ran into a problem because there was no foundation to rest the cob on. The cob was sagging after the application and what I found out later was that the cob had moved the bamboo out of the drilled hole.
Protecting the cob: Plaster is needed to protect the cob from the elements. The cob does not need to be dry since the plaster dries at about the same rate. A week later I returned to plaster the feet. Before I applied the plaster I removed the bamboo support system which I had created while applying the cob to keep the foot from moving. I was almost done with the left foot's plaster when it fell off. I put the foot back on and used the support system again. Hoping that maybe if I gave the oven some more time to dry maybe the foot with become solid and will stay attached. I finished the plastering and filled in a few cracks which the oven had. Another feature of this cob oven is it has an over hang. It rains a lot in Arcata and the cob needs to be protected from this element the most, and the overhang provides suitable protection so that the structure will be able to last longer.
The CCAT Cob Oven with both feet plastered. |
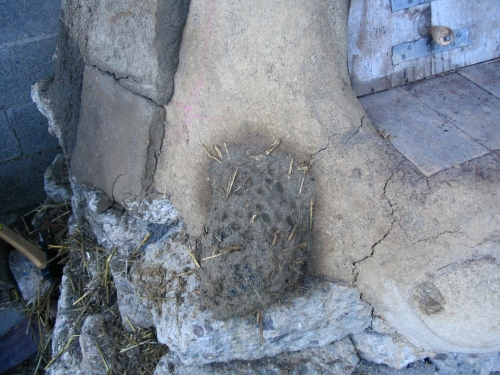
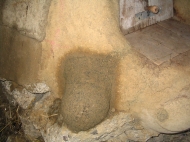
 A cob foot (the turtles left foot)
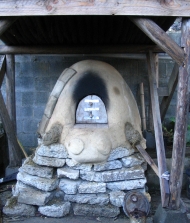 The Cob Turtle Oven with two feet
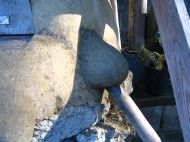
 A cob foot with plaster (the turtles right
foot)
A cob foot with plaster (the turtles right
foot)