The a.r.t. of Papermaking
(A>R>T> appropriately Redesigned Technology)
by Alyssa Grassi
center for appropriate technology (ccat) Week - Fall 2004
Appropriate Technology with Kids - Spring 2005
St. Bernard's 4th grade class in eureka, ca - spring 2005
Appropriate Technology: ENGR 305 project - Spring 2005
past EVENTS:
Future events:
Sustainable Living Arts & Music
(SLAM) Festival - Spring 2005
SLAM festival - Spring 2006
May Day - Spring 2005
____________________________________________________________________________________________________________________________
______________________________________________________________________________________________________________
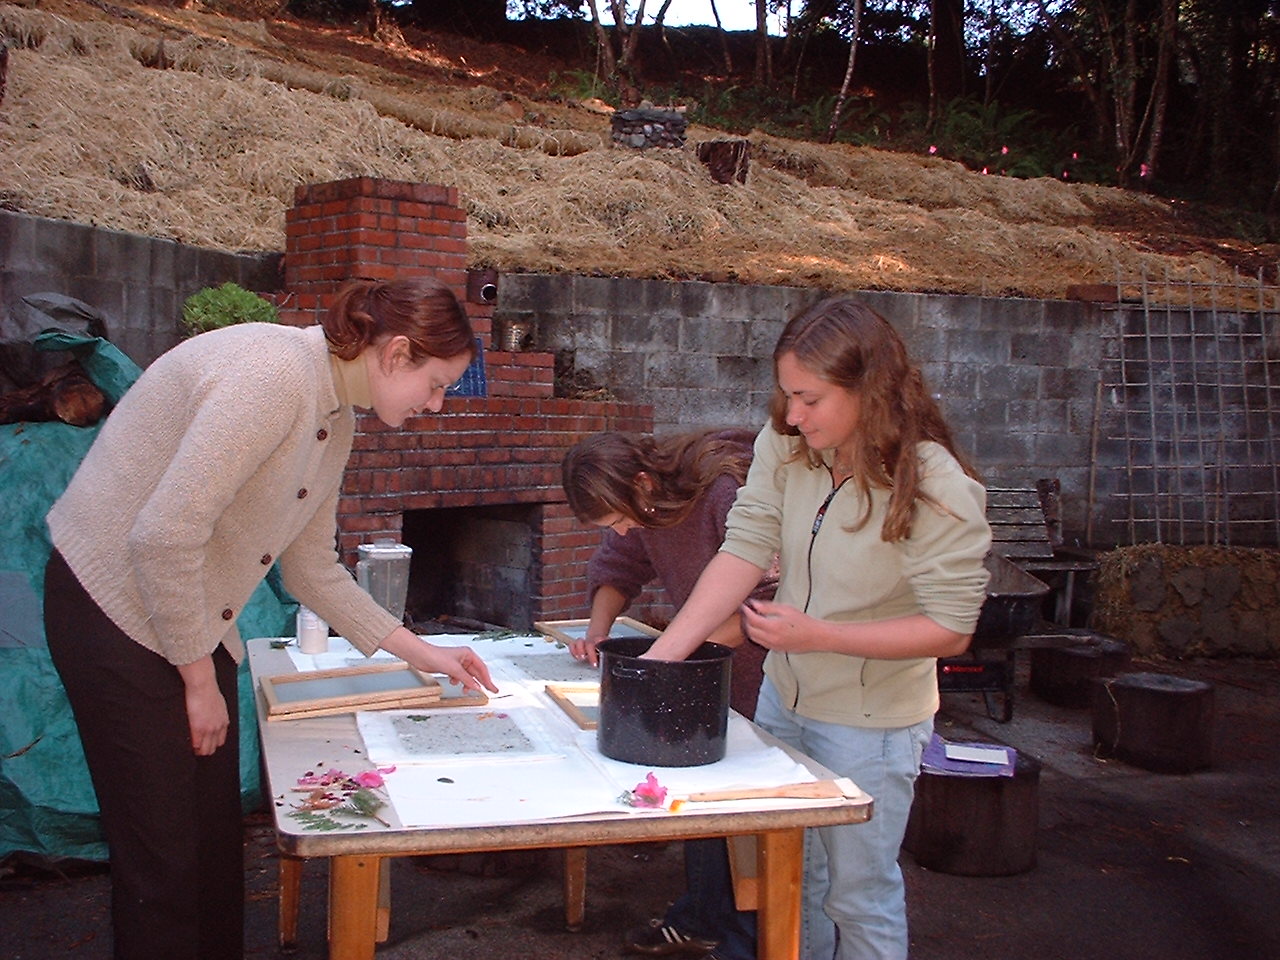
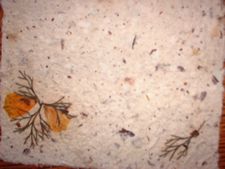
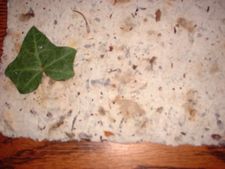
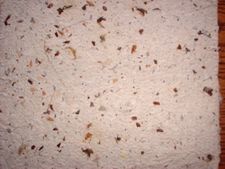
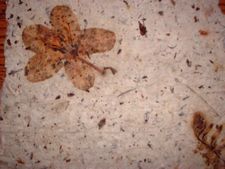
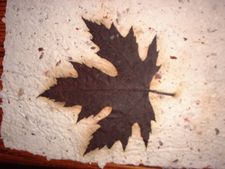
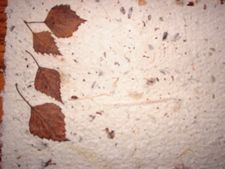
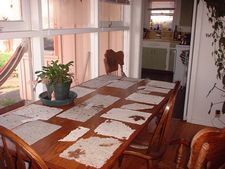
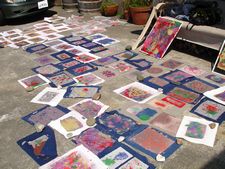
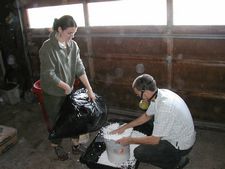
The workshop was two hours of hands on learning. the students first collected things that they wanted to press into the paper they made (demonstrated below: they mostly found leaves & flowers). then the pedal powered blender was used to create pulp out of recycled office paper & some dried bouquets that I had been saving. The pulp was then combined with water & put into the deep sinks that were available at the ccat. the paper was ready to be made.
* check out: the process of making paper: the basics

____________________________________________________________________________________________________________________________
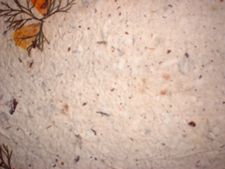
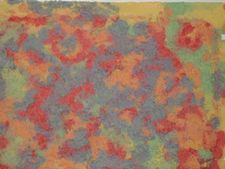
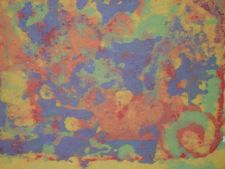
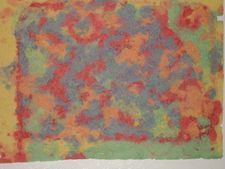
Papermaking with Recycled Paper, from "trash"
newspaper, egg cartons, paper bags, junk mail & construction paper scraps (for color)
Before
& after
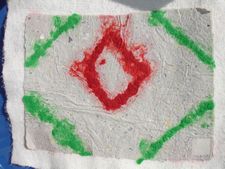
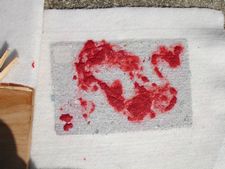
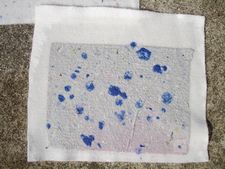
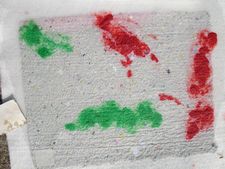
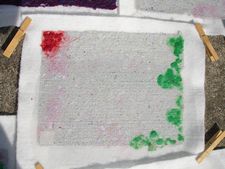
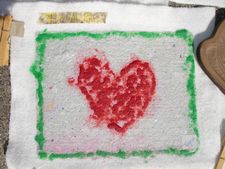
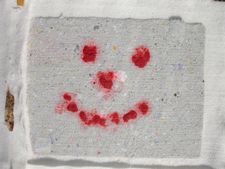
Papermaking can be taught to all age groups.
As a teacher, use your best judgment about the capabilities of the students & make the project fun & educational.
Integrated curricula:
· Vocabulary, Writing skills (Sequentially & Creatively)
· Book / Journal making
· Science: Microscopic look at fibers, cellulose, water (2 atoms hydrogen &
1 oxygen), hydrogen bonds
A Wonderful Reference to implement Papermaking into the Curricula:
Teaching Hand Papermaking: A Classroom Guide
By: Gloria Zmolek Smith
____________________________________________________________________________________________________________________________
the basics
____________________________________________________________________________________________________________________________
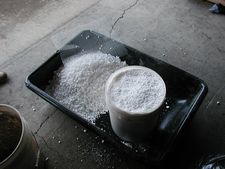
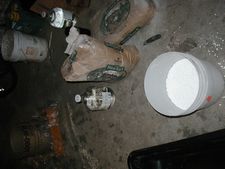
Some Materials:
Optional:
Office /
computer paper
Pigments
Junk
mail
-can be hand made with window screens & duck
Sizing, cornstarch or gelatin
Construction paper
tape or
picture frames, embroidery hoops etc.
Stencils & more...get creative!
Magazines
Other molds can be used (cookie cutters etc.)
Newspaper
Paper
bags
-or a pot
(stainless steel or enameled) for cooking
Egg
cartons
pulp)
Basin / tub
/ Rubbermaid tote
Felt /
Wool / towels / sheets
…
Basic steps:
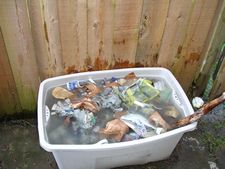
1. Preparing pulp: Soak the paper products (mixing daily, do not let it get stagnant) shredded papers speed up the process & then blend it (newspapers & egg cartons break down quickly – depending on how you want the end product to look you can leave it natural or blend it)
***When blending – make sure that younger kids are supervised & that you use very small clumps of soaked paper so you do not burn out your blender.
2. Mold making
· You can make molds (screen & deckles) out of old picture frames & old window screens or embroidery hoops with window screen, even screens with duct tape edges work well
3. Forming the sheets of paper / Pressing the paper
· Use felt or wool sized about 4” larger than the paper you are making
o Felt & wool are typically used because they have wicking (to draw water out of the paper into the fabric) potential
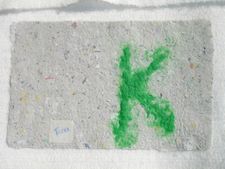
· Name tags can be made by cutting 1” x 1” squares of paper & putting one in the bottom corner of the wet paper when it is still of the fabric. When the paper is dry it can be gently peeled off & the student can sign their name
4. Drying
· A press can be used if available, if not use stacked corrugated cardboard (stacked between layers of fabric & wet paper all with the cardboard “holes” facing the same direction to increase ventilation) & put on front of a fan. You should also put as much weight as you can on top of the pile.
· You can press the paper up onto a glass window
· Hang it on the clothes line
· Lay it in the sun

A few things to keep in mind about papermaking:
1. You will get wet, stay warm.
2. Enjoy the process.
3. The process is a natural one, the paper that you are making will dry & be paper – my point is that you should engage in the process & not think about how many pieces you can make but what you can create with each piece. I only say this because it is human natural to get excited about how easy it is & want more. The idea behind this kind of art in this workshop is to understand that every tiny fiber that is being used is recycled & we are not creating waste. With intent, we can create beautiful things in our world & now we are reusing materials to make art.
4. Art is not limited to “artists”, everyone has a creative aspect to their being – taping into it is the challenge. There are many possibilities to explore with this process.
5. Papermaking is appropriate for many reasons. It has the capability to transform waste into something usable again
6. Create awareness through an integrated curriculum that is oriented around Recycling, Conservation of resources & Waste reduction, Science, Mathematics, Art, Writing...
_________________________________________________________________________________________________________________________
- Spring 2005
____________________________________________________________________________________________________________________________
what is a.r.t?
A>R>T> Appropriately Redesigned Technology
what has been redesigned?
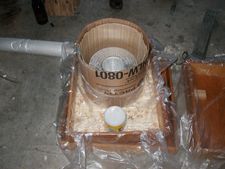
the photovoltaic (pv) powered pulp beater is intended to mimic the functions of a "Hollander beater" typically found in a papermaking studio. I have redesign it to run off of two pv panels to eliminate the use of fossil fuel derived electricity.
1. the Photovoltaic Powered Pulp Beater (an original design)
***in addition to wanting to eliminate the use of fossil fuel derived electricity, I wanted to focus on the a few other fundamental parts to a papermaking workshop.
2. a Paper Press
3. a Styro-crete Oven
(designed to make paper from plant fibers, specifically Pampass Grass, a local invasive species)
___________________________________________________________________________________________________________________________
...............>>>>>>>>>>...................here are some of the Pictures taken as the Papermaking Workshop project came together & project descriptions .....>>.........................>>>...............................>>>>>>>>>>.........................>>>>>>>.......>>
___________________________________________________________________________________________________________________________
1. the Photovoltaic Powered Pulp Beater (an original design)
(a work in progress)
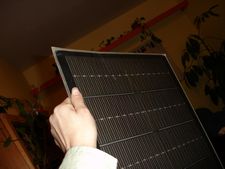
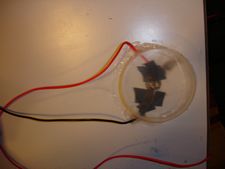
I attained two pv panels & only one of them was wired. so I learned how to solder. I had to solder the positive & negative wires to positive & negative copper plates in the pv panel. this is not easy but with help it got done. (thanks)
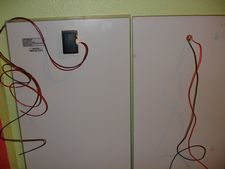
I didn't trust gluing the wires down for some reason so I temporarily taped them down & siliconed a cover over the site.
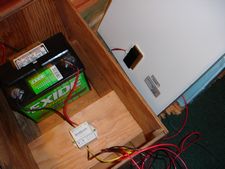
ace hardware donated a 12 volt battery for the project.
each panel gathered about 23 watts from the sun, average
will say is 16 watts. in one afternoon, the battery was fully
charged.
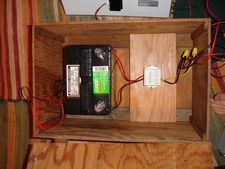
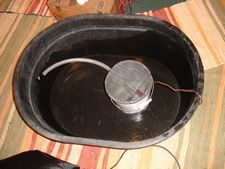 the actual pulp beater part has
been challenging to get running.
the actual pulp beater part has
been challenging to get running.
I initially used a 360 gallon/hour bilge pump but it was not enough the create a whirlpool action in the tub. the screen clogged & water was not circulating. I am in the process of trying to find a dc motor to use with a propeller like mixer attachment. I will document as I can.
___________________________________________________________________________________________________________________________
1. a Paper Press
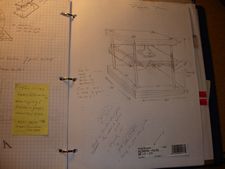
the original design:
the press was designed to create enough
pressure the squeeze excess water out of
the newly made paper that is stacked on
felt or wool
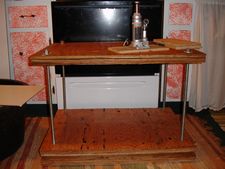
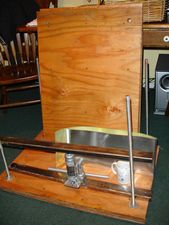
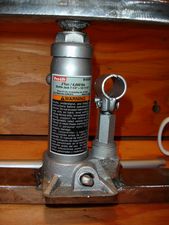
note:
the design after the first "test" ended up "upside down". it turned out that the hydraulic jack would not release & by flipping it around the pressure was then right.
pictures will be available soon.
____________________________________________________________________________________________________________________________
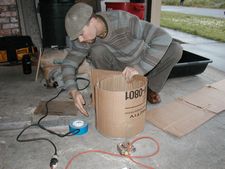
3. a Styro-crete Oven
(designed to make paper from plant fibers, specifically Pampass Grass, a local invasive species)
the oven was planned to be used in a "mobile" workshop, for festival etc. so the ingredients of the oven walls were made to prevent anyone from getting burnt. the combining of cement with reused Styrofoam has originally been used in building homes. the materials provide a good r-value. with temperatures as high as 600 degrees inside, you can still put your hand on the outside & it will be cool.
there is a thermal mass layer inside that the pot rests on that also include sand & clay to retain the heat from the fire underneath.
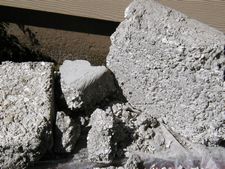
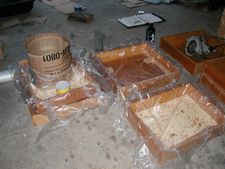
the first test bricks
the Styrofoam was various sizes & they didn't have any tensile strength.
the arcata recycling center
happen to get some Styrofoam
that was very close in size & we
used a screen to sift through it.
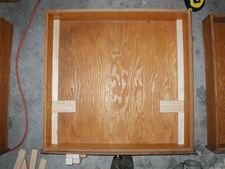
 We then built molds for each wall of the oven
using kitchen & bathroom drawers. the molds
were made to size with 1"x1" boards & random
objects that we found to make the design we
wanted.
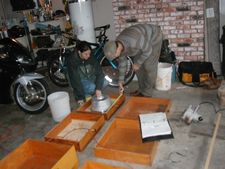
the ratio of cement (fine mortar mix)
to Styrofoam and water was approx-
imately 3:5:2 - but this is contestable,
every mixture we did seemed to be based
on the success of the previous batch.

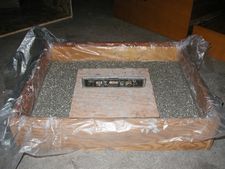
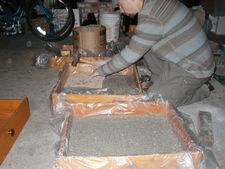
the styro-crete was then put into the molds & let alone to dry. as they dried they we had some breaks, failures.
the oven assembled & completed will be documented asap.
____________________________________________________________________________________________________________________________
Contact information:
Alyssa Grassi
aag16@humboldt.edu