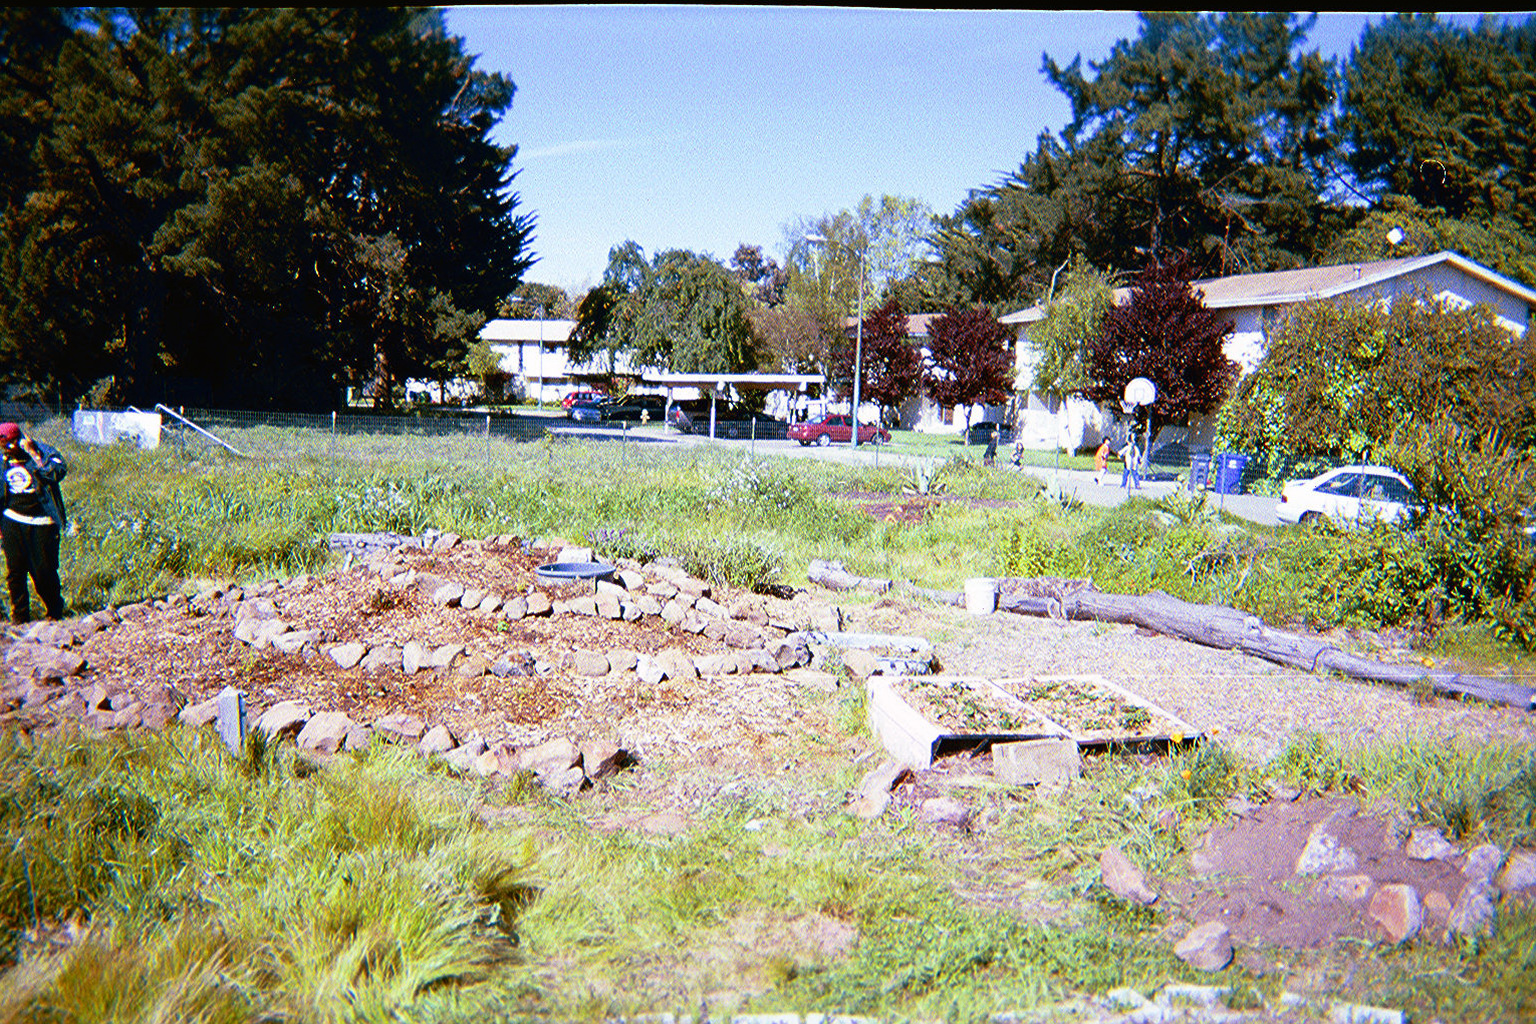
Herb Spiral
The herb spiral built at the APC was fairly large compared to most, but it can easily be scaled down for home use. It begins with a large pile of soil typically five feet across and three feet high. This particular spiral was about ten feet across and five feet high. A planted row 25 feet long could be shrunk to a mere five-foot diameter circle to maximize space and create an abundance of diversity in a very small space. Besides saving space, the herb spiral also effectively creates several microclimates. The south facing side can be planted with herbs like thyme, rosemary and oregano that thrive in full sun. The north side can be used for plants that enjoy cooler climates such as chives or parsley. The east and west sides can be use for herbs that need a good amount of sun but that also need some shade. Besides different sides to plant on, herbs can be placed so that those who like it driest are at the top and those who prefer moister soils are at the bottom, as the top will dry more rapidly due to evaporation.
Six Steps to Starting an Herb Spiral
1. As mentioned before a typical herb spiral is five feet across and three
feet high. It will take ½ to 1 yard of soil to build the spiral.
A few large rocks can save some soil, as well as help drainage.
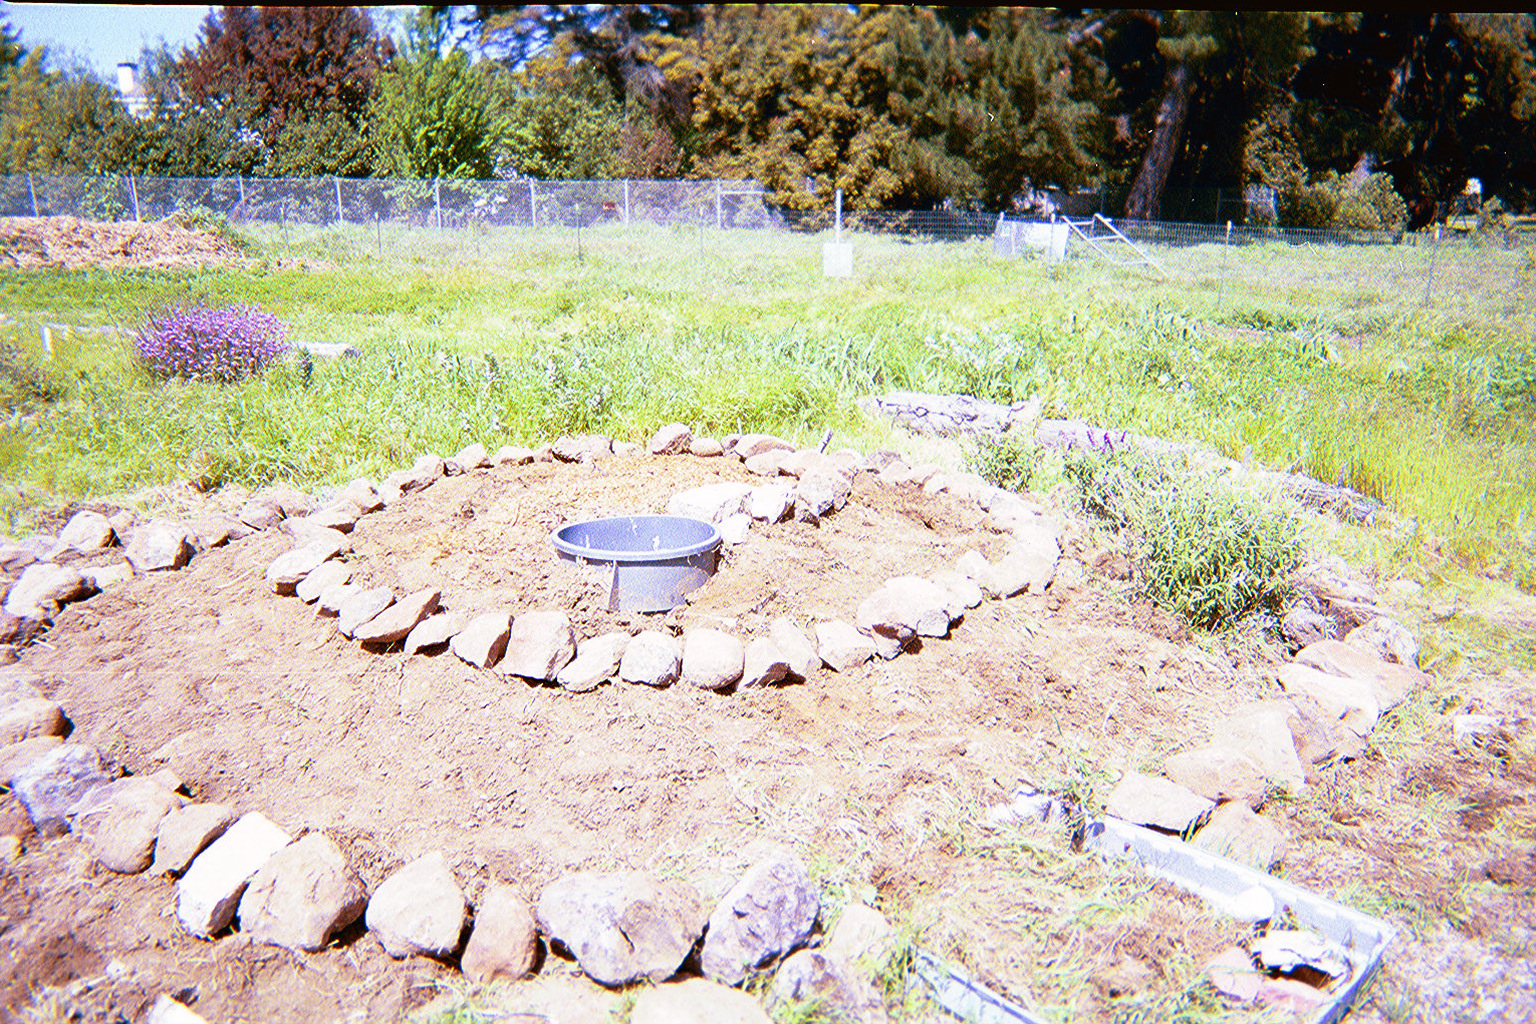
2. Place rocks in spiral fashion to create a border. Make sure to leave
plenty of room for plant growth. (Leave 1-2 feet depending on the size
of the spiral).
3. Add manure or other organic fertilizer to the spiral.
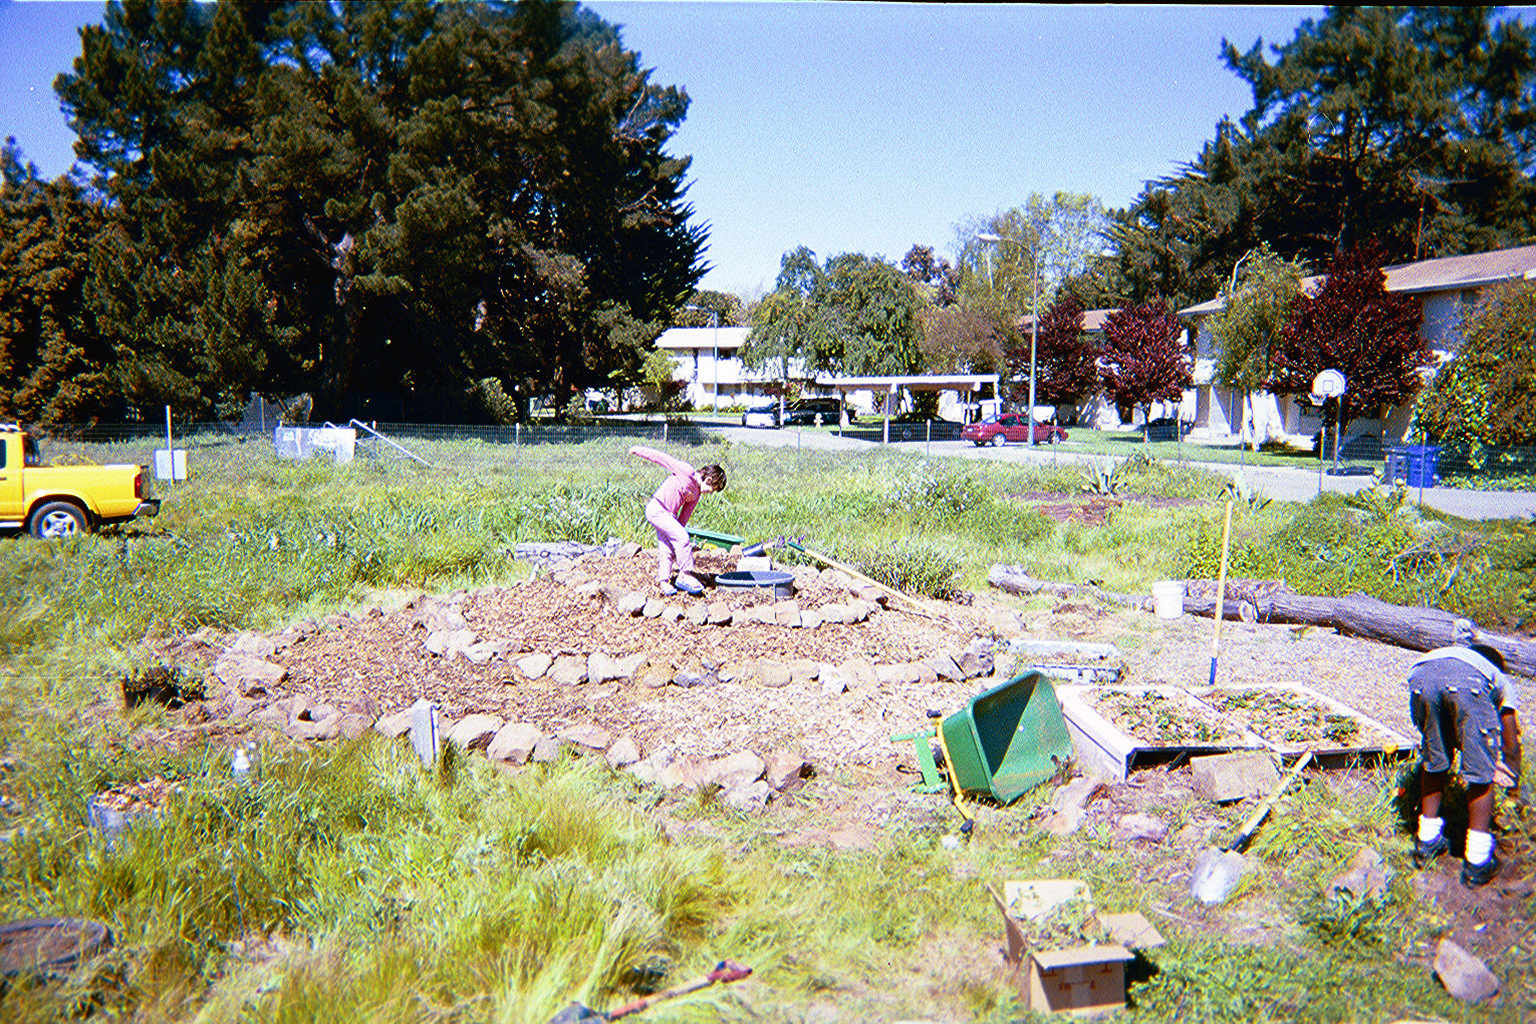
4. Add mulch, either chipped wood, as in this case, or weed-free straw.
5. Place herbs accordingly, remember, it is driest at the top, wettest
at the bottom, hottest on the south side and coolest on the north side.
6. Water the plants thoroughly, watch and wait.
7. Harvest.
| 1. | 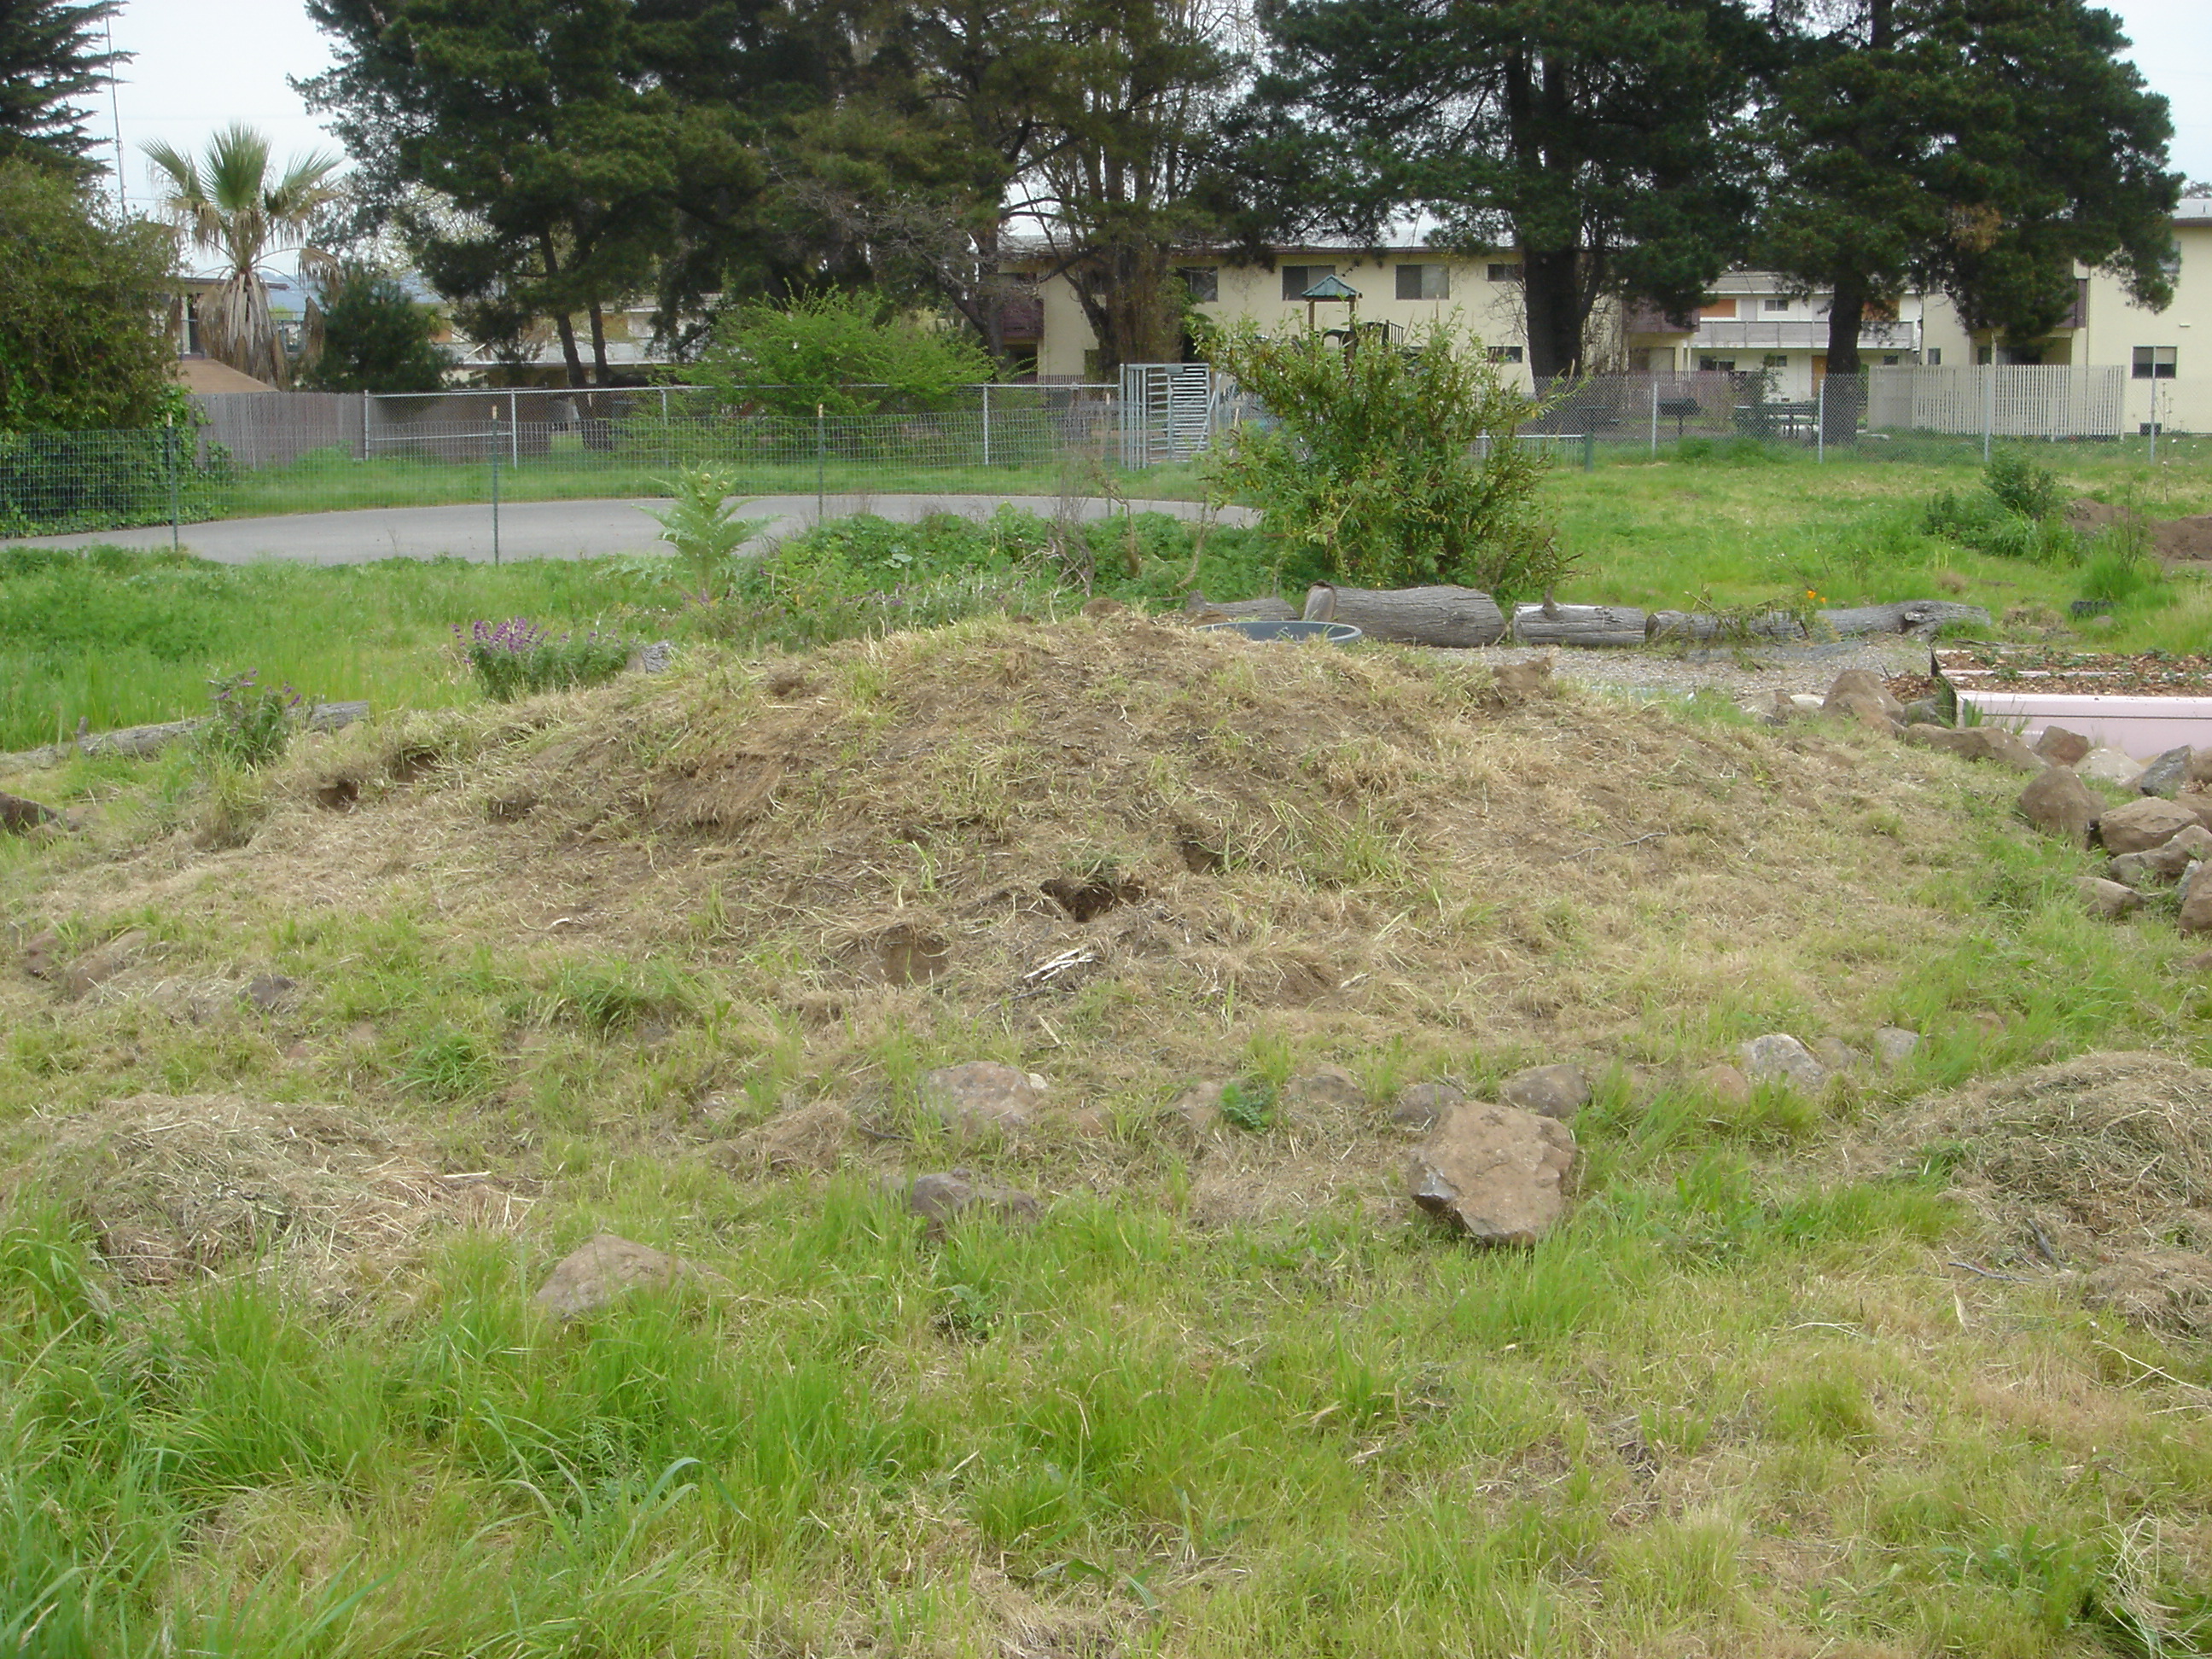 |
2. |  |
| 3. | 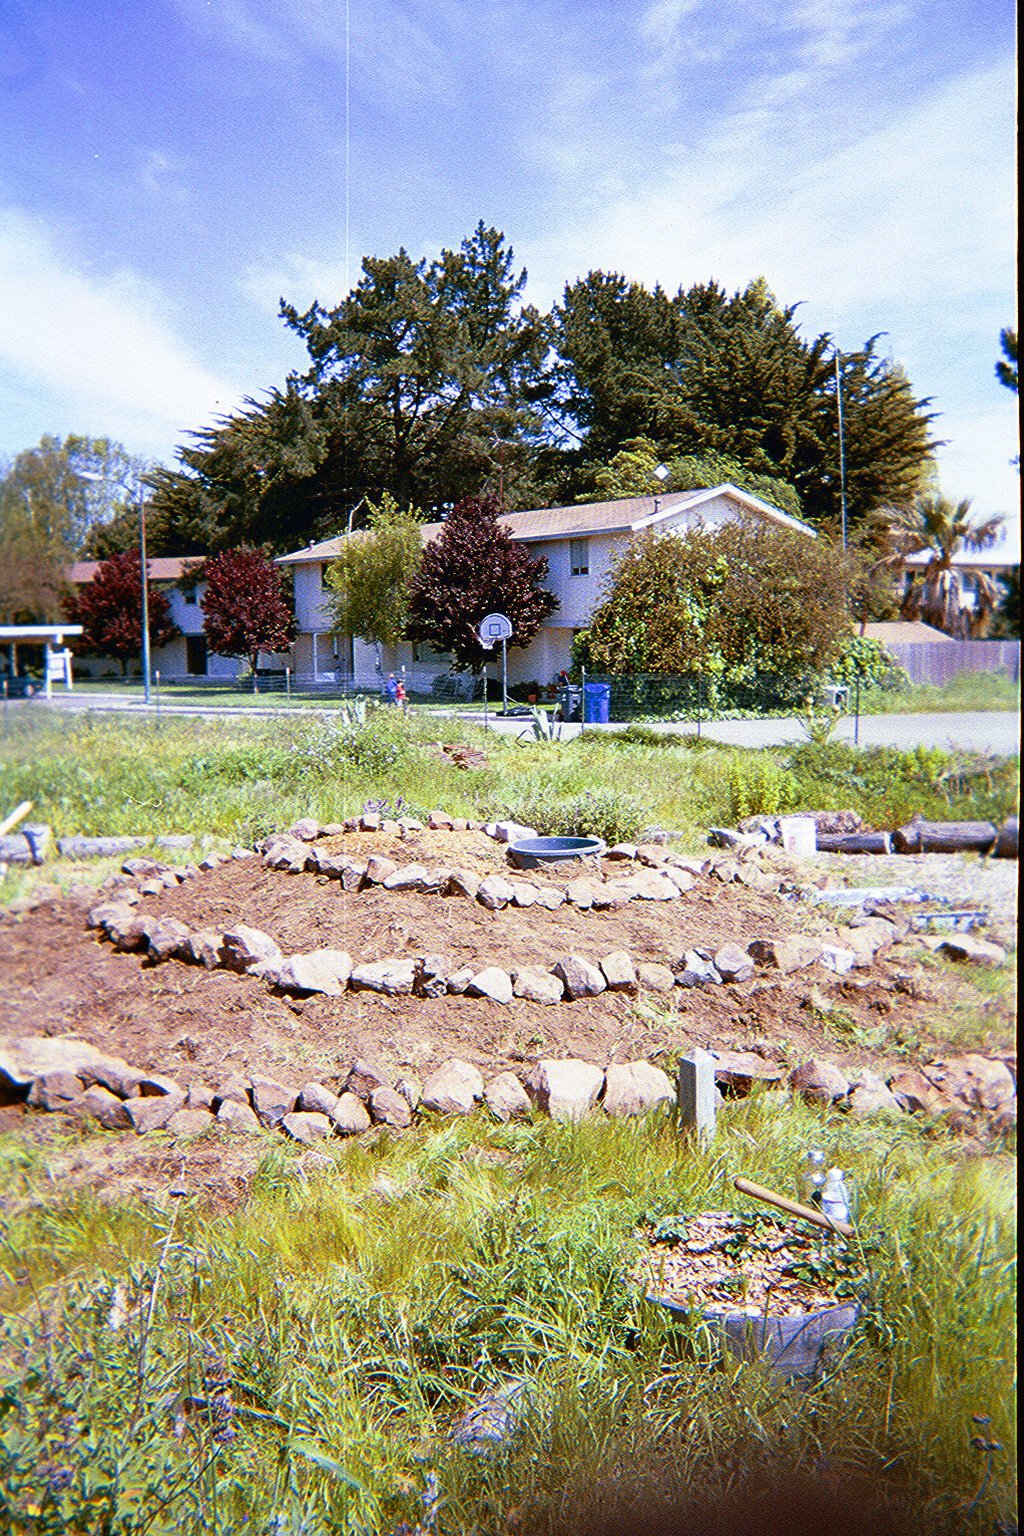 |
4. |  |
| 5. | 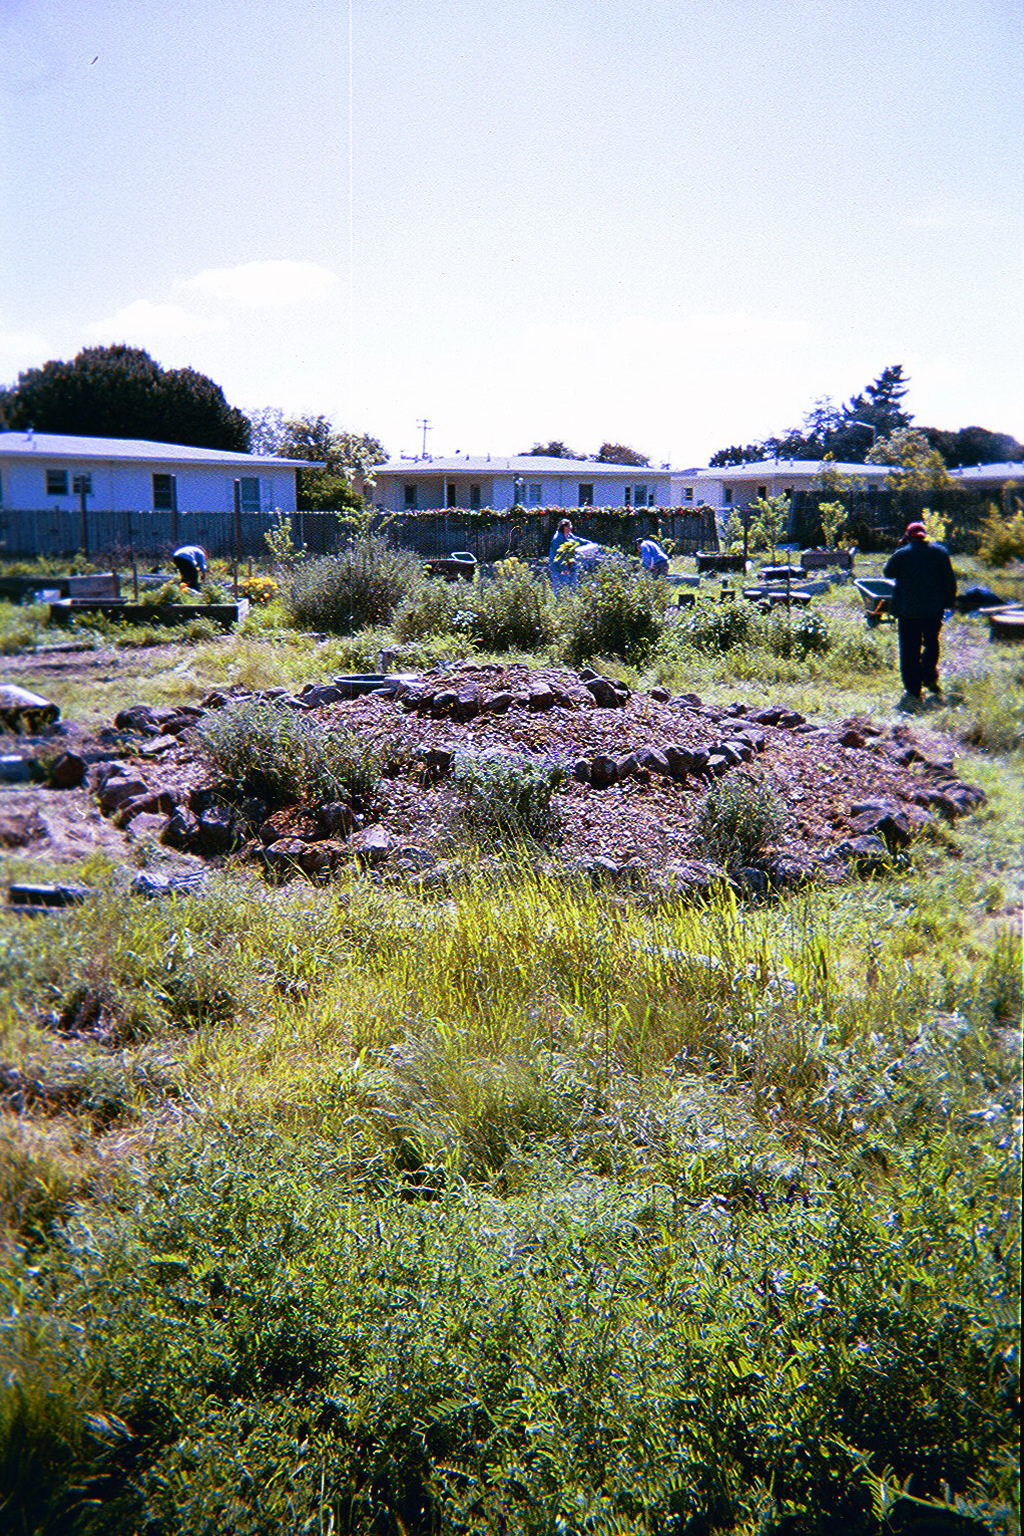 |
6. |  |
| Herb Spiral | Worm Bins | Fruit Trees | Children's Garden |