The
Making
of a 
![]()

Making cob can be exhilarating, tiring, and relaxing. With all the cob I've made for this project, I've experienced it all and want to now share that cob making process with you. To start out, the site where I made the cob was right on the CCAT grounds. This was very convenient because after a batch of cob was made, it had to be carried only a few feet way to where it was to be applied. Below you can follow the pictures and walk through the process of making cob.
*Be sure to see notes at the bottom of the page
First the location:
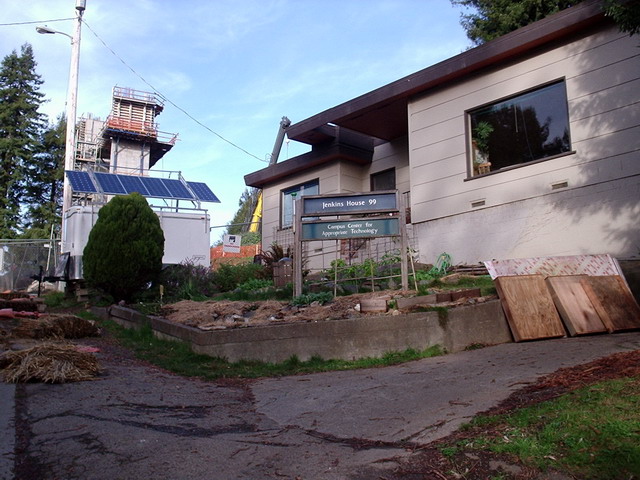
The front of CCAT.
The back of CCAT where the cob was made.
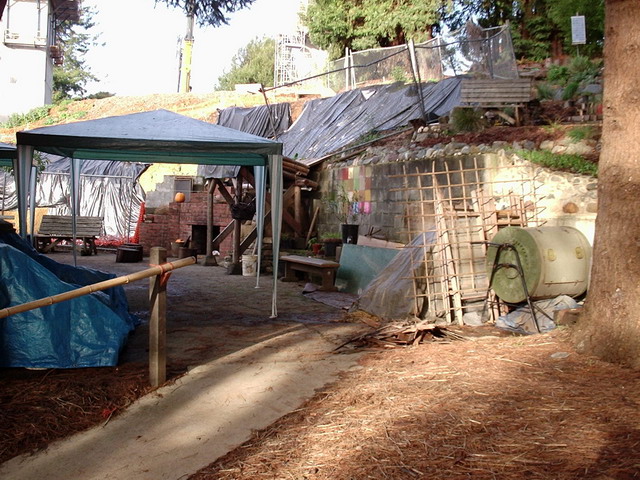
Underneath the tarp is the cob bench, where cob was applied.
Now...
![]() Step
1.
Step
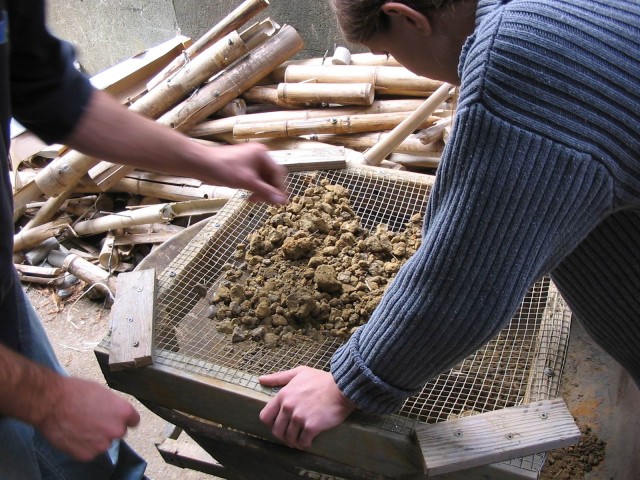
1.
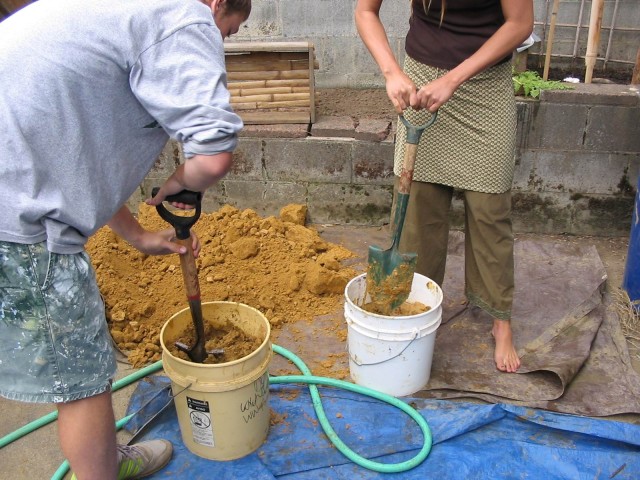
Grate the clay through a rough screen.
Step 2.
Take the grated clay, add water and mash it up.
Step 3.
Sift the sand to a fine grain and discard the larger rocks, or save for foundation work.
Step 4.
Lay down a sturdy tarp.
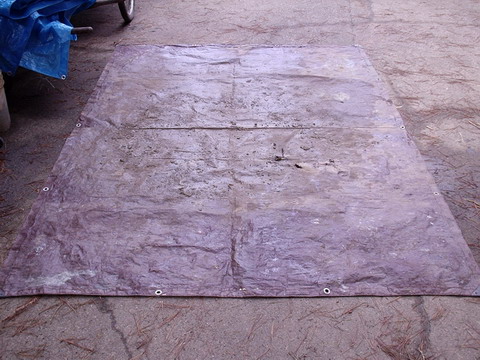
Step 5.
Lay down 3 parts sifted sand. (I will explain the ratio of ingredients I used, however, they can be altered). The sand goes down first so the clay won't stick to the tarp.
![]()
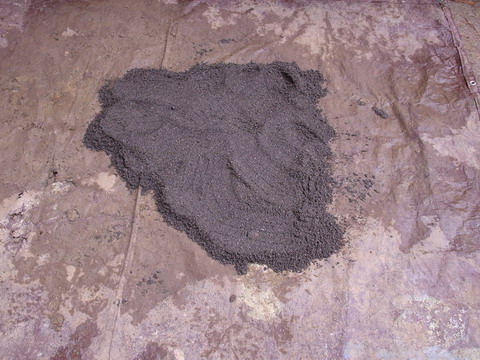
Step 6.
Lay down 1 part grated, mashed up clay.
Step 7.
Mush it together.
Step 8.
This is what it looks like after it is thoroughly mixed.
Step 9.
Test for too much water. Grab a handful, make a small ball, and squeeze it with your fist. If there's too much water, it will ooze out through your fingers and you will have to add more sand and clay.

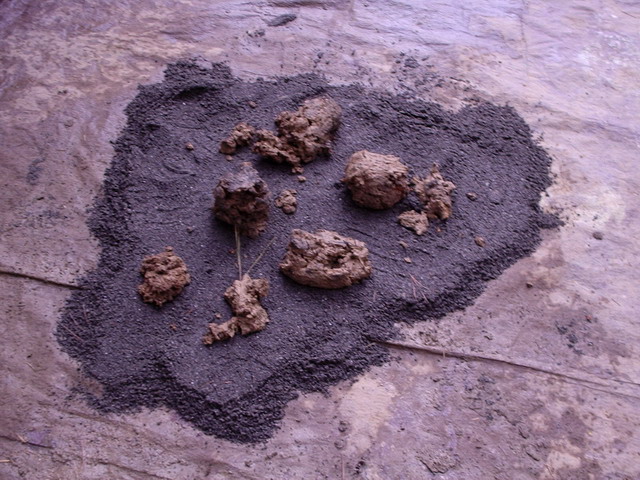
Step 10.
Ball test. Take a tennis ball sized amount of the mixed sand and clay and toss it back and forth between your hands for about a minute, to make a ball. Then, from waist height, drop it. If there are a lot of cracks, there's too much sand. If it flattens out, leaving less than half a hemisphere, there's too much clay. The picture below is one mixture that is just about right, but it might need just a bit more clay.
Step 11.
Add straw.

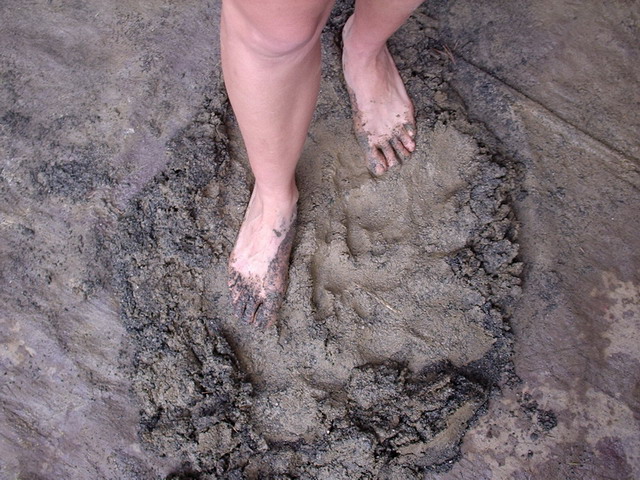
Step 12.
Mix not only with your feet, but also turn it over to make a cob burrito to help with the mixing.
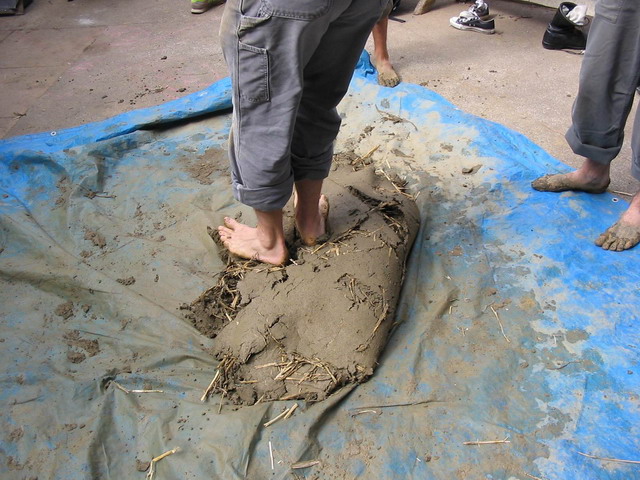
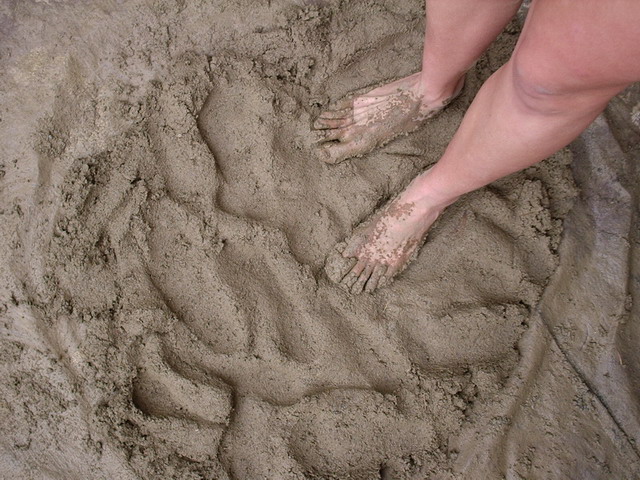
Step 13.
Test the mixture. If you can't dig your fingers in easily and it's hard to pull on the cob because it sticks together, it might be done. At this point make a compressed ball with your hands and try to pull it apart. If you can't pull it apart without digging in your fingers, it's ready.
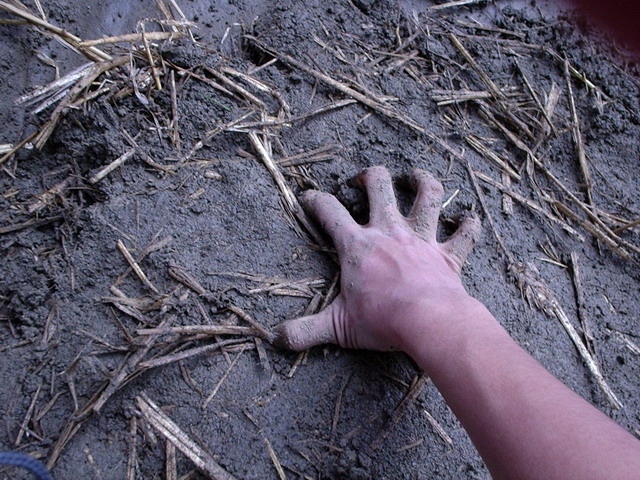
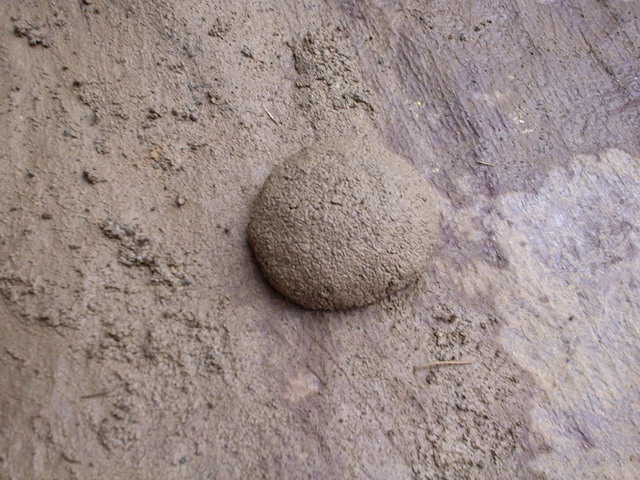
Step 14.
Make the balls.

Step 15.
The finished product.
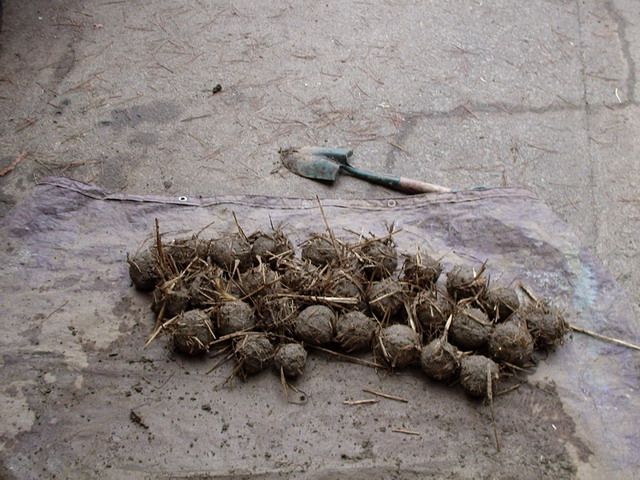
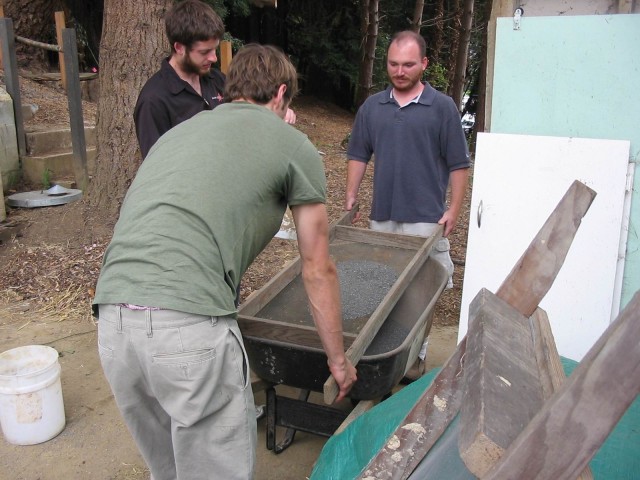
Step 16.
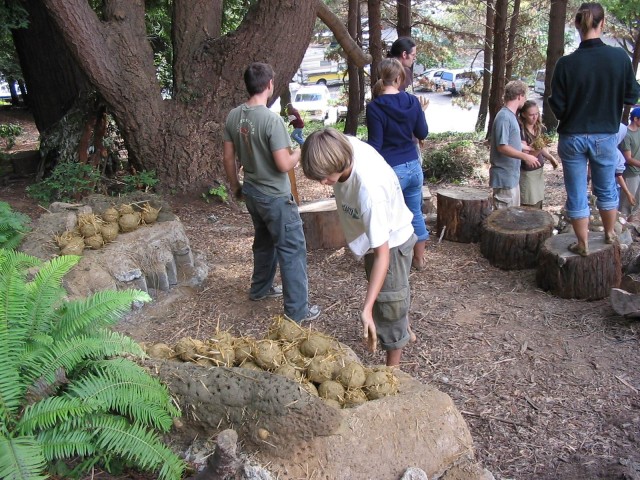
Transport the balls to the application site. This is the picture of the "cob line brigade."
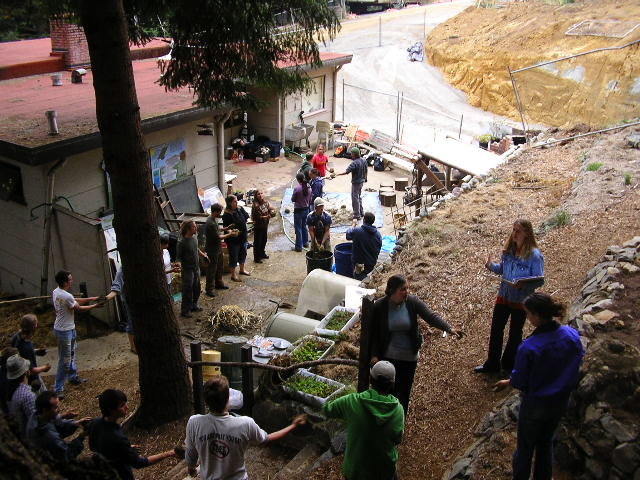
Step 17.
Apply the cob!
Notes On Applying The Cob
1. Be sure to allow each cob layer enough time to dry before applying the next
layer. On a hot, sunny day this can mean waiting a few hours, but in Humboldt I
generally found that you had to wait a day or two. It is also important that you
don't build vertically more than 6-12 inches in one layer. This is because after
this amount, the cob becomes unable to support its weight and ooging can occur.
2. After applying a layer of cob be sure to push small holes into it. This will
allow you to better work in the next layer of cob and connect them together. You
want to work the layers into one another because it adds to the structural
strength. Working in each cob layer is a lot like kneading bread dough. You
have to be a little rough and massage the cob into the layer beneath it. A stick, or
cobber's thumb, is a very useful tool at working in the cob and making the small
holes. It can also be useful at carefully moving any bugs to a safer place away
from the construction.
3. Living in Humboldt or other rainy places requires you to cover up your cob
work if you'll be away from it for long periods of time, or if it is going to rain.
However, once your cob structure has a protective plaster or overhang of some
sort, it won't need to be covered up.
4. Lastly, for every 12 inches you go up, taper in 1 inch. This keeps the cob
structurally sound and keeps it from toppling over.
* Final note
The first batch of cob that I made I used as a test batch. About a week after applying it I came back to the bench to see how the mixture had held up. Since there were no significant signs of an inferior mixture, I continued to use this mixture for the rest of the project. This mixture was 3 parts sand to 1 part clay with enough straw added to pass the strength tests. Lastly, my project started after the foundation for the bench was already constructed and an initial bottom layer of cob had already been applied. This was done in the previous semester. Read more about this on the History of the Bench Page.